Module 0 • Lesson 1📸 Fix & Export One Photo
Before we explain a single thing, you're going to open a photo, make it visibly better, and save a copy you could post or print, in about the length of a coffee break. This is the whole rhythm of Photoshop in miniature.
📚 What You'll Learn
By the end of this lesson, you will be able to:
- Open a photo and straighten & crop it with the Crop tool
- Improve its brightness and contrast with a Brightness/Contrast adjustment layer
- Explain, in one sentence, what "non-destructive editing" means and why it matters
- Export a finished JPEG without ever altering your original file
⏱️ Estimated Time: 25 minutes (about 20 of them hands-on)
🎯 Project: Take one photo of your own from "meh" to "nice," and export a share-ready copy.
In This Lesson
🚀 The 20-Minute Promise
Here's where we're going. Grab the slider handle below and drag it left and right: the left side is where we'll end up, the right side is where most photos start.
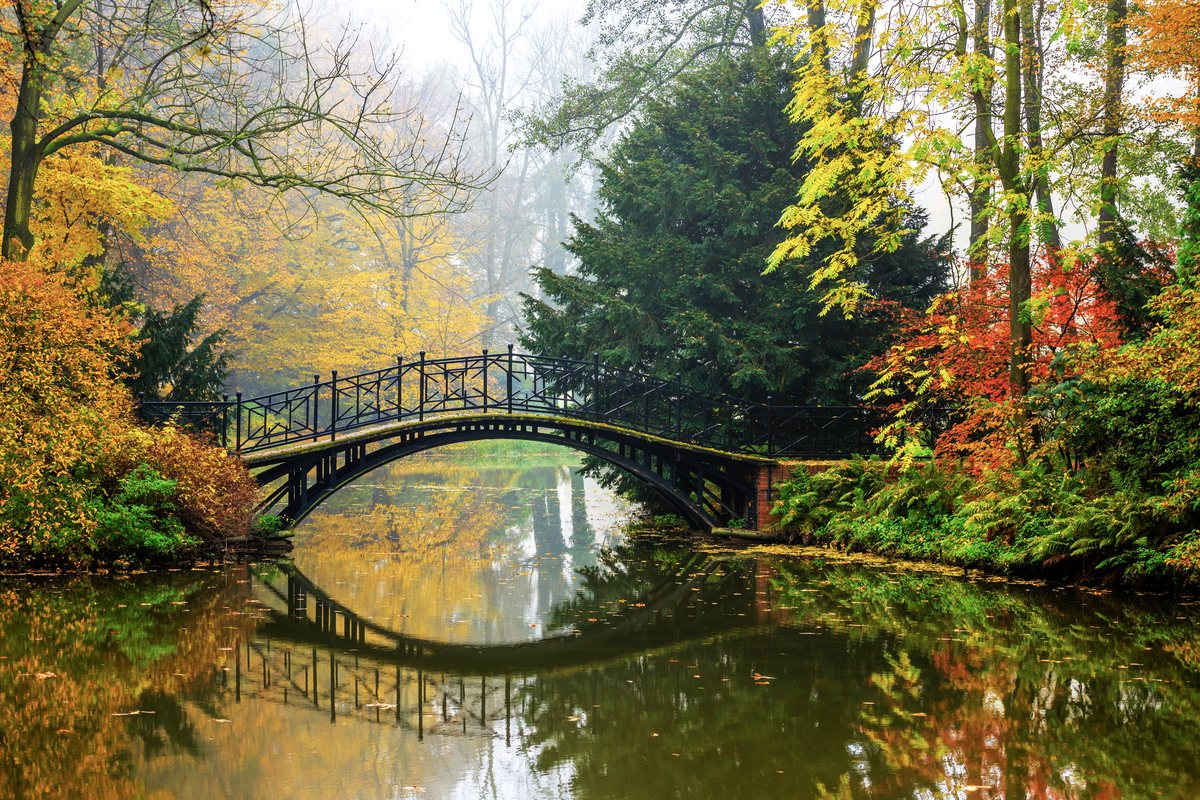
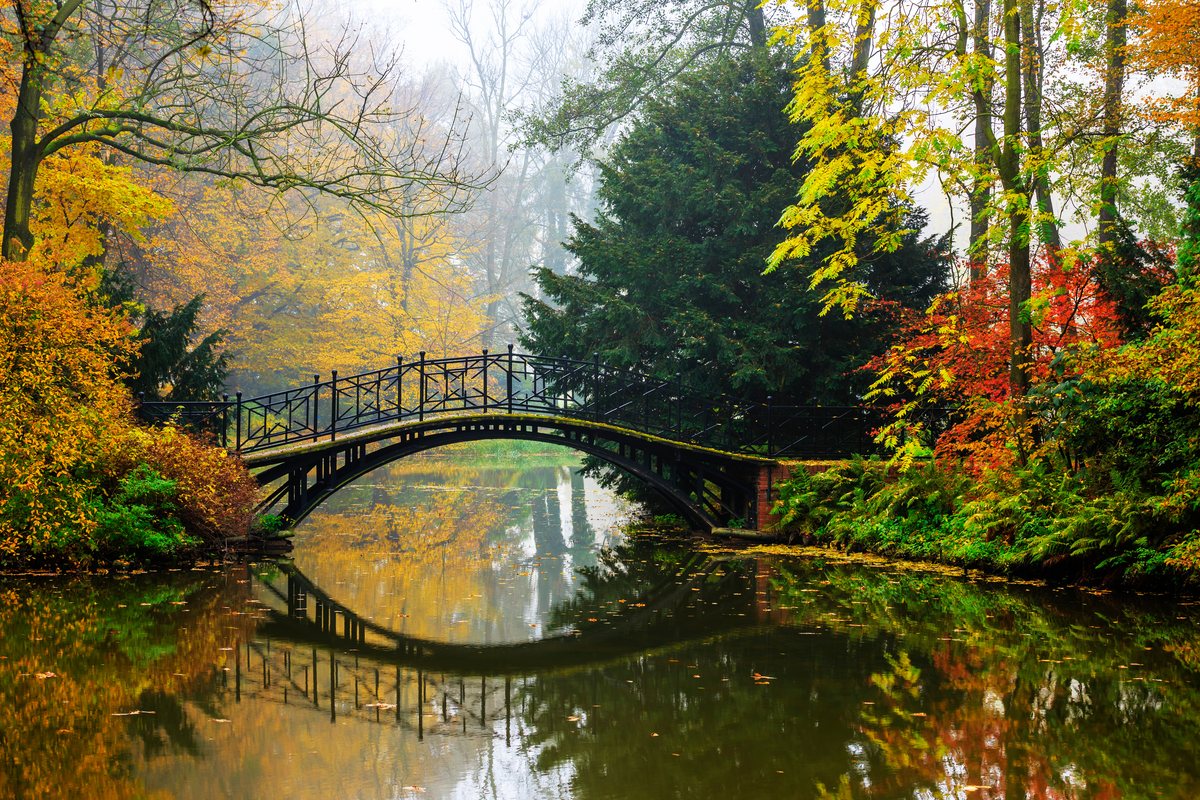
✅ The only promise that matters today
You do not need to understand everything. You need to finish one photo. Understanding grows out of finishing — not the other way around.
🧠 One Idea to Carry the Whole Course: Tracing Paper
If you remember one thing from Module 0, remember this. Imagine your photo is a printed picture lying on a desk. Instead of drawing on the photo with a marker, you lay a sheet of clear tracing paper over it and make your changes there. Want it brighter? That's one sheet. Want it warmer? Another sheet on top. Hate a change? Peel that sheet off. The photo underneath is never touched.
In Photoshop, those sheets of tracing paper are called layers, and the special ones that only carry an instruction ("make everything under me brighter") are called adjustment layers. Editing this way, so the original is always intact, is called non-destructive editing. It is the single habit that separates people who feel in control of Photoshop from people who feel afraid of it.
🧠 Why this matters beyond today
Every professional retoucher, every magazine cover, every game texture artist works this way. It's not a beginner shortcut you'll outgrow — it's the actual professional workflow. Learning it now means you never have to unlearn a bad habit later.
🖥️ A 30-Second Screen Tour
You only need to find four things on screen today. Here's a simplified map of the Photoshop workspace, not a screenshot of your exact version, just the neighborhoods you'll visit:
| Neighborhood | Where | What you'll use it for today |
|---|---|---|
| Tools | Left edge | Grab the Crop tool |
| Options bar | Along the top | Confirm the crop |
| Canvas | The big middle | Your actual photo |
| Layers panel | Bottom-right | Add your one adjustment layer |
Can't see the Layers panel? Menu: Window ▸ Layers (or press F7).
🛠️ Guided Build: Fix Your Photo
Open any photo you like: a phone snapshot is perfect, ideally one that's a little dark or a little crooked. Then follow along. Times are per step; the whole thing is about 20 minutes with no rushing.
Step 1: Open your photo & save it as a working file · 3 min
- Menu: File ▸ Open, choose your photo.
- Immediately: File ▸ Save As and choose Photoshop (.psd) format. Name it
myphoto-working.psd. (If Photoshop asks where to save, choose Save on your computer.)
⚠️ Why save first: a .psd remembers your layers so you can come back and change your mind. Your original JPEG stays untouched on disk: the tracing-paper principle, applied to the file itself.
Step 2: Straighten & crop · 5 min
- Press C to grab the Crop tool.
- A grid appears over your photo. Drag a corner inward to remove distracting edges.
- To straighten a tilted horizon: move your cursor just outside a corner until it becomes a bent arrow, then drag to rotate until the grid lines match the horizon.
- Press Enter (Return) to commit.
Step 3: Add ONE adjustment layer · 6 min
- At the bottom of the Layers panel, click the half-black/half-white circle (the Adjustment Layer button ◐).
- Choose Brightness/Contrast.
- A small panel appears. Nudge Brightness up until shadows open up; nudge Contrast up a little for punch.
- Look at your Layers panel: a new sheet of tracing paper now sits above your photo. 🎉
✅ The magic moment
Toggle the little eyeball (👁) next to your adjustment layer off and on. The whole effect vanishes and returns — proof you changed nothing in the photo itself. That's non-destructive editing you can see.
Step 4: Export a share-ready copy · 4 min
- First, File ▸ Save (Ctrl/⌘ + S) so your
.psdkeeps the new adjustment layer. - Menu: File ▸ Export ▸ Export As…
- Set format to JPG, quality around 80%.
- Click Export and save it as
myphoto-final.jpg.
💡 You now have two files: the layered.psd(your editable master) and the flat.jpg(the copy you share). Never post the.psd; never edit on the.jpg.
✅ Project Completion Checklist
- ☐ I saved a working
.psdbefore editing, and saved it again after - ☐ My photo is cropped and the horizon looks level
- ☐ There's a Brightness/Contrast adjustment layer above my photo
- ☐ Toggling its eyeball turns my edit off and on
- ☐ I exported a
.jpgand my original file is untouched
All five? You just completed the entire Photoshop loop. Genuinely — take the win.
🧗 Now You: Solo Variation
Repetition is where a skill goes from "I followed steps" to "I can do this." Do it once more, on your own, with a twist:
🌟 Your challenge
- Pick a different photo. This time try one that's too bright instead of too dark.
- Run the same four steps, but this time lower the brightness a touch.
- Add a second adjustment layer: click ◐ again and choose Vibrance. Push Vibrance up gently. Notice you now have two sheets of tracing paper.
- Export. Compare it side by side with your original.
Going further: reorder your two adjustment layers by dragging one above the other. Does the result change? (Often subtly, and that curiosity is exactly what Module 1 is about.)
🍳 Recipe Card: Quick Fix & Export
Every lesson ends with a wallet-sized recipe you can use without re-reading anything. Screenshot this one.
Quick Fix & Export: the 5-step loop
- Open → Save As .psd (protect the original)
- C Crop & straighten → Enter
- Layers panel ▸ ◐ ▸ Brightness/Contrast → nudge
- (Optional) ◐ ▸ Vibrance → nudge
- File ▸ Save, then File ▸ Export ▸ Export As ▸ JPG 80%
Golden rule: edits live on adjustment layers, never on the photo.
📓 Learning Journal
Keep a journal for this course: a notebook or a text file, your choice. After each lesson, jot down:
- Key concepts you learned
- Techniques that clicked for you
- Questions or confusion points to revisit
- Ideas you want to try
- Your progress and feelings about learning this
✍️ This lesson's prompt (your first entry): Why do you want to learn Photoshop, and what's one image you dream of being able to make? Write it down now. We'll come back to it at the Capstone, and you'll be amazed how far you've come.
📝 Lesson Summary
🎓 Key Takeaways
- Non-destructive editing = change the tracing paper, never the photo.
- Adjustment layers are sheets that carry an instruction ("brighten," "add vibrance") and can be toggled, tweaked, or removed at any time.
- The whole loop is Open → Save .psd → Crop → Adjust → Save → Export JPG.
- You keep two files: the editable
.psdmaster and the flat.jpgyou share.
🎉 What You've Accomplished
Half an hour ago, Photoshop might have felt like a cockpit with a thousand switches. You just flew it around the block. You opened a photo, made a real improvement, understood why it's safe, and shipped a finished file. That's not a toy version of the skill — it's the actual professional loop, scaled down.
❓ Common Questions at This Module
Why not just use the phone's edit button or a slider app?
You can, for quick fixes. But those bake changes into the file permanently and top out fast. Photoshop's layer approach lets you stack, mask, and revisit edits indefinitely, which is what the rest of this course unlocks.
My photo already looks fine. Did I do it wrong?
Not at all. The goal of Module 0 isn't a dramatic change — it's the loop. A subtle, tasteful edit that you did non-destructively is a complete success.
What's the difference between "Save" and "Export"?
Save writes your layered working file (.psd) so you can keep editing. Export flattens everything into a single share-ready image (.jpg). You'll do both, for different reasons, every time.
🔭 Looking Ahead
In Module 1 we slow down and build the real mental model behind what you just did: the layer stack, and the idea that quietly runs all of Photoshop — a mask is just a grayscale stencil that decides where an edit shows and where it hides.
✅ Before the Next Lesson
- Keep your
.psd. You'll recognize its layers with new eyes soon. - Run the 5-step recipe on two more photos until it feels automatic.
- Write your first Learning Journal entry (the prompt above).
📚 Additional Resources
🌟 Encouragement for the Journey
The hardest photo you'll ever edit is the first one, and you just did it. Everything from here is variations on a loop you already know. Marathon, not a sprint — and you're off the start line.