Module 1 • Lesson 1🧱 The Layer Stack & Your First Mask
In Module 0 you added an adjustment layer that changed the whole photo. But the best edits are local — brighten this, calm down that. The tool for "only here, not there" is a mask, and it's the single most important idea in Photoshop. Today it stops being mysterious.
📚 What You'll Learn
By the end of this lesson, you will be able to:
- Read a layer stack: what's on top wins, and why order matters
- Explain a mask in one sentence: black hides, white reveals, gray partly reveals
- Paint on a layer mask to apply an adjustment to only part of a photo
- Recover from mistakes by painting the mask back: no undo panic required
⏱️ Estimated Time: 45 minutes
🎯 Project: Rescue a washed-out sky in a landscape by darkening only the sky with a masked adjustment layer.
In This Lesson
🌥️ The Problem: One Edit, Two Regions
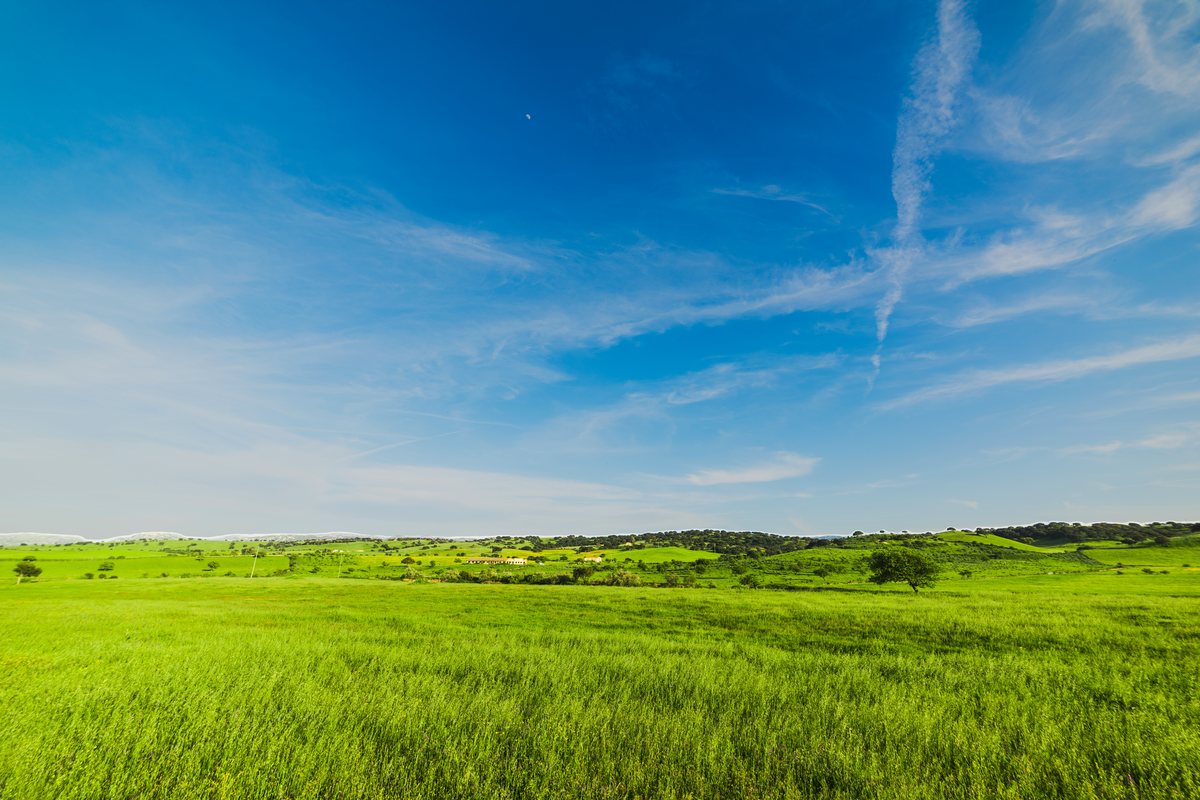
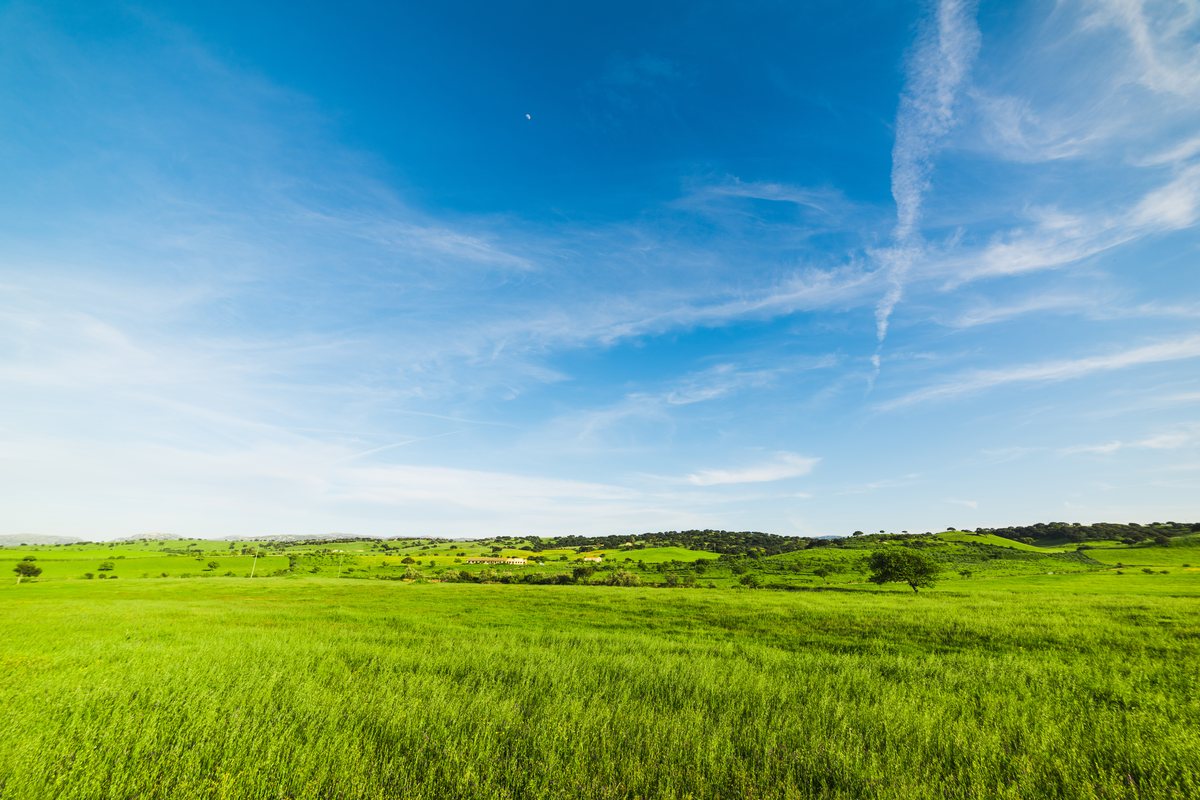
Here's a classic landscape headache: to get detail in the land, the camera overexposed the sky into a pale, boring wash. If you darken the whole image, the land goes muddy. You want to darken the sky only. Drag the handle:
🪟 Mental Model 1: The Stack of Glass
In Module 0 we called layers "sheets of tracing paper." Let's sharpen that: think of them as sheets of glass stacked in a frame, and you're looking straight down through the stack. Whatever is painted on a higher sheet covers what's below it. Clear glass lets the lower sheets show through.
Two rules follow, and they explain almost everything:
- Higher layers win where they're opaque.
- Order is meaning. Move a sheet up or down and the picture changes.
🎭 Mental Model 2: A Mask Is a Stencil (Black Hides, White Reveals)
Every adjustment layer comes with a layer mask: a grayscale card attached to that sheet of glass. It has exactly one job: decide, pixel by pixel, how much of this layer's effect gets through.
🧠 The sentence to memorize
Black hides. White reveals. Gray does a bit of both.
That's it. That's the whole idea that professional compositors, retouchers, and matte painters use every single day. Where the mask is white, the adjustment shows at full strength. Where it's black, the adjustment is completely hidden and the original shows through. Paint gray and you get a partial, feathered blend.
✅ The mistake-proof superpower
Masks make mistakes painless. Painted over something by accident? Switch your brush color to the opposite and paint it right back. Nothing is ever destroyed: you're only adjusting a stencil. This is why pros mask instead of erase.
🔎 Reading the Layers Panel
Here's what your Layers panel will look like after today's build, again a labeled diagram, not a screenshot of your machine:
💡 The single click that trips up beginners
An adjustment layer has two thumbnails: the effect (the half-moon ◐) and the mask (the white/black card). Before you paint, click the mask thumbnail so it gets a highlighted border. (An adjustment layer has no pixels of its own, so your brush lands on its mask anyway, but clicking it builds the right habit.) The habit matters on pixel layers with masks: there, painting while the image thumbnail is selected paints the photo itself. When in doubt, click the mask.
🛠️ Guided Build: Rescue the Sky
Open a landscape (or any photo with a clear "top region vs. bottom region" split). If you don't have one, a photo out a window works great.
Step 1: Open & save your working file · 2 min
File ▸ Open, then File ▸ Save As ▸ .psd named sky-rescue-working.psd. (You know this rhythm now: protect the original first.)
Step 2: Add a Brightness/Contrast adjustment layer · 3 min
- In the Layers panel, click ◐ ▸ Brightness/Contrast.
- Pull Brightness down until the sky looks rich. Ignore the land going too dark. We'll fix that with the mask.
Right now the darkening hits the whole photo, because the mask starts all white (all revealed).
Step 3: Hide the effect everywhere, then reveal only the sky · 8 min
- Click the mask thumbnail (the white card) on your adjustment layer to select it.
- Press D to reset colors, then flip the foreground to black (X toggles black/white).
- Choose Edit ▸ Fill… and set Contents: Black, or press Alt/⌥ + Backspace/Delete with black as the foreground color. (Avoid Ctrl/⌘ + Backspace/Delete: that fills with the background color.) The whole mask goes black: your darkening vanishes.
- Now grab the Brush (B), set foreground to white (X), pick a big soft brush, and paint over the sky. The darkening reappears only where you paint. 🎉
💡 Watch the mask thumbnail as you paint: you'll literally see a white sky-shape grow on the black card. That thumbnail is your stencil.
⚠️ Painted onto the land by mistake?
Don't undo in a panic. Press X to switch the brush to black and paint the mistake away. Black hides, white reveals — you can go back and forth forever.
Step 4: Soften the seam, save & export · 5 min
- At the horizon, lower your brush opacity to ~30% and gently blend so the transition isn't a hard line. (This is "painting gray": a partial reveal.)
- Toggle the adjustment layer's 👁 off/on to admire the before/after.
- File ▸ Save (Ctrl/⌘ + S) to keep your layered
.psd. - File ▸ Export ▸ Export As ▸ JPG 80% →
sky-rescue-final.jpg.
✅ Project Completion Checklist
- ☐ One Brightness/Contrast adjustment layer sits above my photo
- ☐ Its mask is black over the land, white over the sky
- ☐ The sky is richer; the land looks untouched
- ☐ The horizon transition is soft, not a hard line
- ☐ I saved the .psd, exported a JPG, and my original is intact
🧗 Now You: Solo Variation
🌟 Your challenge
- On a portrait or object photo, add a Brightness/Contrast layer and brighten it.
- Fill the mask black, then paint white only over the subject's face (or the object) so just it gets brighter, a gentle spotlight.
- Try the reverse: a second adjustment layer that darkens, masked so it only touches the background, pushing the subject forward.
Going further: select the mask thumbnail and press Ctrl/⌘ + I to invert it. White becomes black and vice versa. Watch your reveal flip instantly, a great way to feel how total the black/white relationship is.
🍳 Recipe Card: Mask an Adjustment to "Only Here"
Local edit with a mask
- Add adjustment layer (◐) → push it too far on purpose
- Click the mask thumbnail
- Fill black (hide it everywhere): Alt/⌥ + Backspace with black foreground
- Brush white (B, soft, big) over the area you want the effect
- Mistakes → press X to swap to black, paint them out
Mantra: black hides, white reveals, gray blends.
📓 Learning Journal
Add to your journal after this lesson:
- Key concepts you learned
- Techniques that clicked for you
- Questions or confusion points to revisit
- Ideas you want to try
- Your progress and feelings about learning this
✍️ This lesson's prompt: Masks are the idea most people say "clicked everything into place." Describe, in your own words and without looking, what happens when you paint black on a mask versus white. If you can teach it to an imaginary friend, you own it.
📝 Lesson Summary
🎓 Key Takeaways
- A layer stack is sheets of glass viewed from above: higher layers win, and order is meaning.
- Every adjustment layer carries a mask: a grayscale stencil.
- Black hides, white reveals, gray blends. Painting the mask targets an edit to "only here."
- Masks make editing reversible: swap brush color to undo by hand, no destruction.
🎉 What You've Accomplished
You just did the thing that, more than any other, makes someone go from "I push sliders" to "I edit photos." A masked adjustment layer is the atom of nearly every serious Photoshop technique: retouching, compositing, dodging and burning, color grading. You'll reuse this exact move in every module ahead.
❓ Common Questions at This Module
Why fill the mask black and paint white, instead of the other way around?
Either works. Painting in the effect (black mask, add white) gives you precise control over a small area. For a big area like a sky, some people start white and paint black to subtract. Learn both; pick whichever means less painting for the shot.
My edit has a hard, obvious edge. What went wrong?
Your brush was too hard. Lower the brush Hardness (right-click the canvas to find it) and paint the seam at low opacity. Soft edges = believable masks.
Is a mask the same as a selection?
They're cousins. A selection is a temporary "these pixels" boundary; a mask is a permanent, editable grayscale record of one. In the next lesson you'll make selections and turn them straight into masks with one click.
🔭 Looking Ahead
You painted your mask by hand today. In Lesson 1.2: Selections That Hold Up, you'll let Photoshop find edges for you (Object Selection, Quick Selection, Select & Mask) and convert those selections into clean masks instantly.
✅ Before the Next Lesson
- Mask one more edit on a different photo until the black/white logic feels automatic.
- Practice the X (swap) and B (brush) keys — you'll live on them.
- Write your Learning Journal entry (the teach-a-friend prompt).
📚 Additional Resources
🌟 Encouragement for the Journey
If masks feel weird right now, that's not a sign you're behind — it's the sign you just met the idea that everyone wrestles with once and then never forgets. Give it one more photo. It clicks, and when it does, half of Photoshop opens up at once.